// PC GAMER — GAMING
My failed Steam Frame teardown... and iFixit's successful one
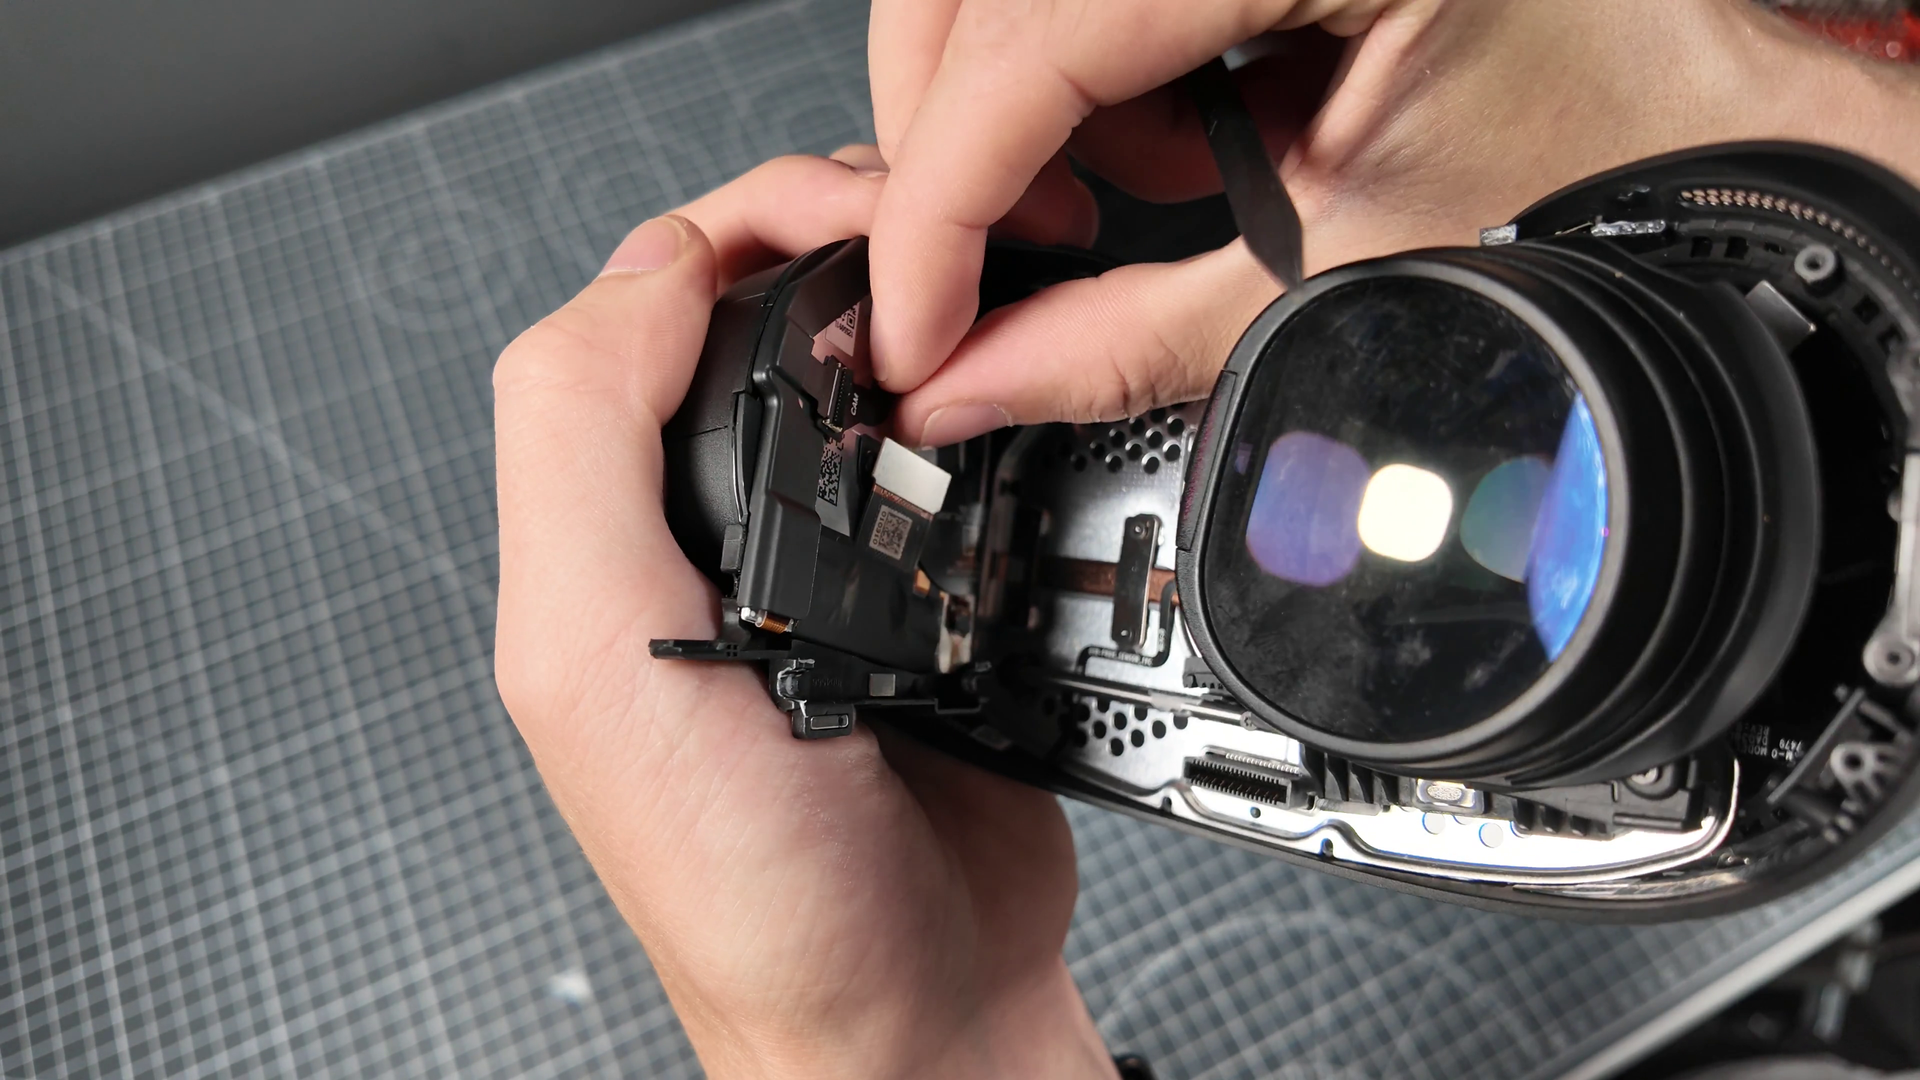
I got too nervous to fully take apart my Steam Frame, so boy am I glad iFixit's just shown me how.
When you purchase through links on our site, we may earn an affiliate commission. Here’s how it works.
You can watch my teardown attempt above. I've sped it up at times, mostly through the bits where I have no idea what to do next. That's most of it.
My attempts to take apart the Steam Frame ended in me nervously replacing screws on our only review unit. I hadn't broken anything, but I expected I might do if I persisted in stripping the headset down any further. Thankfully, there's no need for me to go through all that again, as iFixit has published its own full teardown.
iFixit's Shahram Mokhtari doesn't mind prying things. Things that I didn't dare pry myself. For example, it's pretty easy to get into the Steam Frame's main 'core module', the bit housing the system-on-chip, optics, RAM, memory, and sensors. Beneath the magnetic face mask sit three switches, release these and the core module comes away from the strap. It's then just six Torx screws to remove the plastic cover that exposes most of the headset.
The optics (lenses/screens) are attached magnetically to a rail at the top of the headset. They're pretty easy to remove, too; however, the push fit connectors on the back of the are glued onto the back of the optics. I left these in place out of fear—fear of destroying a very valuable object ahead of our review date—whereas iFixit pried those off without a second thought.
It's much easier to access the rest of the headset without the optics flapping around. iFixit says: "this design is pretty darn good for such a complex assembly," and notes only the Bigscreen Beyond has an easier lens stack removal process.
The metal bar the lens stack sits on comes out next, followed by the proximity sensor. This exposes the metal plate, complete with copper heatpipe, atop of the mainboard. At this point, I tried to remove this plate, and in doing so, I also prematurely removed some of the cameras around the edge of the mainboard. When I couldn't remove the mainboard, I was starting to lose my nerve, and this is when I turned back. Though I'm heartened to learn that iFixit's expert also got a little confused at this step.
"Okay, so full disclosure," Mokhtari says, "I got a bit confused here and started to look for other things that might be holding the metal plate in place. I got the two forward-facing tracking cameras that also enable passthrough and after a few minutes I figured out the three screws on the copper heatpipe are also the last holdouts."
It's a shame I never made it any further because this is when we get down to the lovely-looking innards. At least once the thermal paste is cleared away. The Snapdragon 8 Gen 3 is sat beneath 16 GB of SK hynix LPDDR5X in the bottom left, with the NAND chip above it—in this case, 256 GB of SK hynix-made storage. Many connectors sit around the rest of the board. These are all easy enough to remove with a pair of pliers or a spudger, though Mokhtari does say it's a bit much for a user repair.